
forestgnome
New member
I'm trying the D&B tools in PS for the first time, thanks to a tutorial at a link provided by Jim Salge.
http://www.photoshopessentials.com/photo-editing/dodge-burn/
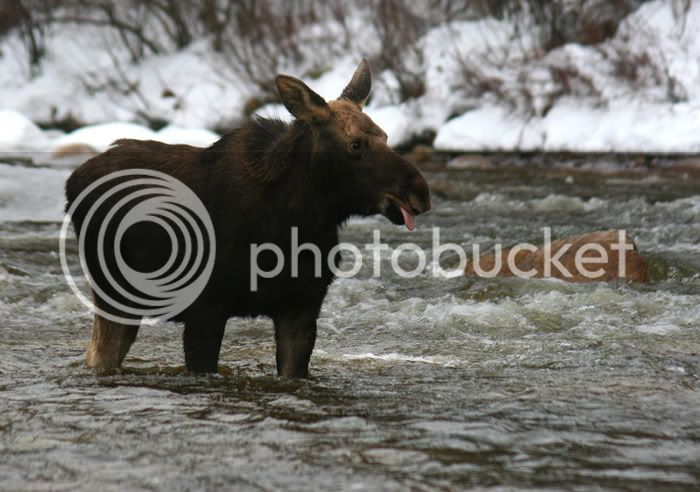
Here's my first try. I've only tried burning the dark part of this photo (calf/subject). Tonight, I'll try dodging the snow.
before...
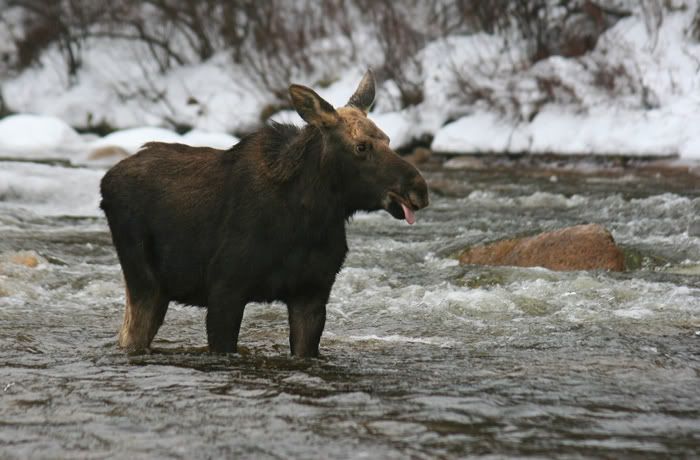
after...
C&C?
http://www.photoshopessentials.com/photo-editing/dodge-burn/
Here's my first try. I've only tried burning the dark part of this photo (calf/subject). Tonight, I'll try dodging the snow.
before...
after...
C&C?
Last edited:

