bignslow said:
I don't mind at all, I think the changes you made to the first one look awesome. What did you do to change them?
Convert to LAB mode. Go to Curves (ctrl-m).
First increase the resolution of the grid by alt clicking anywhere on the grid.
Now select the 'A' channel, and move the end points of the curve "in" 2 squares, it should look like this:

Do the same to the 'B' channel. It's important to change them both the same amount. You can do 1, 2 or 3 squares of change to really bring out the color.
Click OK, then ctrl-m again to go back to curves for the 'Lightness' adjustment.
The first thing I adjusted on this curve was to move the light end (I have the options for my curves set to Pigment/Ink %, set this in the curve display options on the bottom) which is at the bottom left, to the right to meet the histogram edge (also selected in the display options menu of the curves dialog). This sets the white point. I try to get it so I'm not blowing out the clouds or other bright spots.

Next move the black point to the left, in this case I only moved it about 1 point because I didn't want to make it too dark, like so:

And the final lightness adjustment before clicking OK, move the center point until you like the image (either darker or lighter). I initially move it along the central horizontal axis and then when I find a good spot move it up and down a little while previewing the results. In this case I just moved it back to the center:

If you are going to do any sharpening, select the Lightness channel from the Channels menu and apply the sharpening to here. Then convert back to RGB mode and save.
Have fun,
Kevin


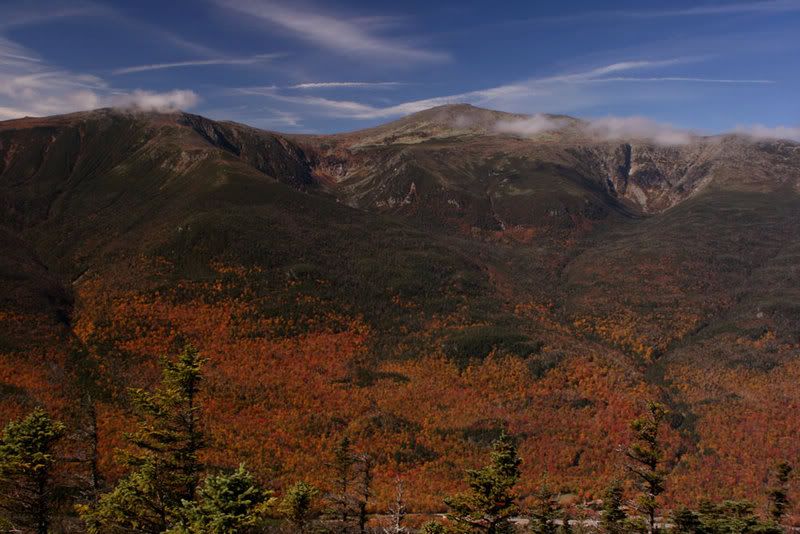

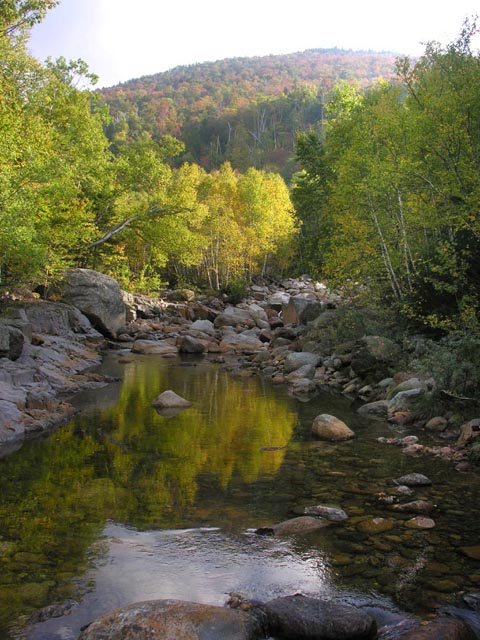
 . Glad somebody got the beautiful peak foliage in Pinkham notch.